


Installing Tile
Whether it’s for your kitchen, bathroom or any other room of your house, installing floor tiles is an awesome skill to learn. Perhaps you have never installed a single tile before nor have any knowledge on how to go about, well, this article is for you. You can become a little kind of a professional once you have gone through these tips on how to install floor tile. Check them out.
Prepare The Floor
Before you start laying the tiles, ensure that your surface is clean, have no imperfections, dry and no debris. You can solve the imperfections using waterproof patching compounds. If you are lying the tiles on the wood, ensure that the surface is about 1.5 inches thick. Remove oil dust, grease, and sealers by scraping, sanding and chipping away all the contaminants.
Measure And Mark The Datum Line
Use your tape measure, spirit level, and a pencil to mark datum line. You will use this line as a reference when installing tiles so that they are symmetrical and straight. The line allows full tile installation on its either side with the same width at the edges.
Prepare The Adhesive
Now, take an empty bucket, pour in a substantive amount of water and then add powdered adhesive. Mix it up until it becomes consistent like a toothpaste. If the mixture becomes too runny, you can add more adhesive and if it’s too thick, add extra water.
Lay Your Tiles Dry
It’s a great idea to first lay out the tiles dry and see how the finished work would look like. Before you apply the adhesive, lay your tiles using the datum line as your point of reference. Check whether they are evenly installed and spaced. If they are not, then adjust the datum line.
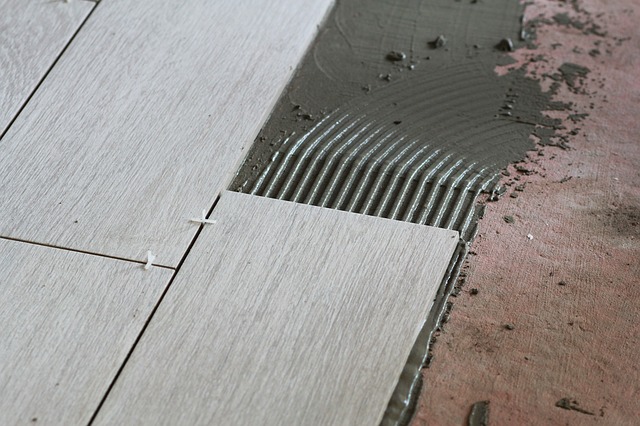
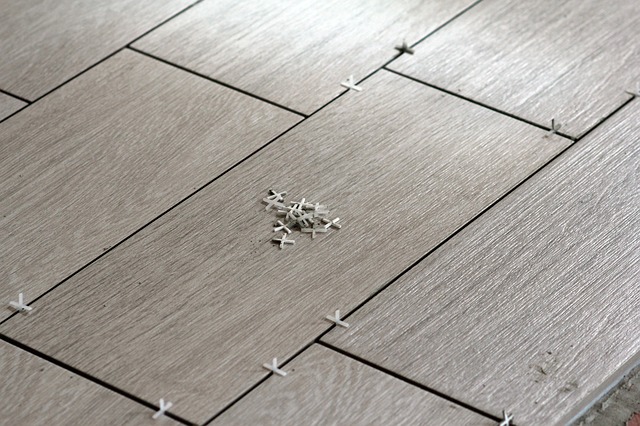
Lay The Tiles
Using a trowel, put on the adhesive between the nearest wall and the datum line. Run your trowel through the adhesive to in order to increase the surface area to stick the tile. Also, apply a little bit of adhesive along the edges of tiles. Place the tile on the adhesive and press it gently to ensure it adheres with the adhesive. Let the adhesive dry for at least 24 hours. Do not step on it. Check if the lines are straight and uniform using tile spacer between the tiles. From there, now you can remove excess adhesive.
Cut Tiles If Needed
Where needed, cut the tiles using a nipper or a wet saw. Mark the area that needs to be cut using a pencil. Ensure all your center tiles have factory edges. Cut only the tiles that are on the end to fit in the line.
Finish Tile Installation
After you have leveled and straightened your newly installed tiles, it times to finish up. Using a damp sponge, now wipe off the excess adhesive that might have risen up along the lines of tiles when pressing them down.
Tile installation is a crucial process that you will want to follow keenly. Ensure you don’t miss any point which could lead to a mistake that will destroy the whole installation. However, if you cannot do it by yourself, you can always ask for a hand from professionals to help you with the tile installation.